


Composition - rules - lesson 6 Yoors Photography Course


Taking photos using composition - rules
Do you want to give your photos a little bit more power? Is the color beautiful, the lighting to your liking, but is it just not the WOW - photo? These little tips can make a difference.
Create a workbook for the Yoors Photography Course?
More and more practice tips will be coming from now on. A photography course can only work if you try it out in practice. So my tip is to create a folder for the Yoors Photography Course on your computer. There you will save the photos you take as a result of the assignments. From there, we can share the photos in the lessons responses and give each other feedback.
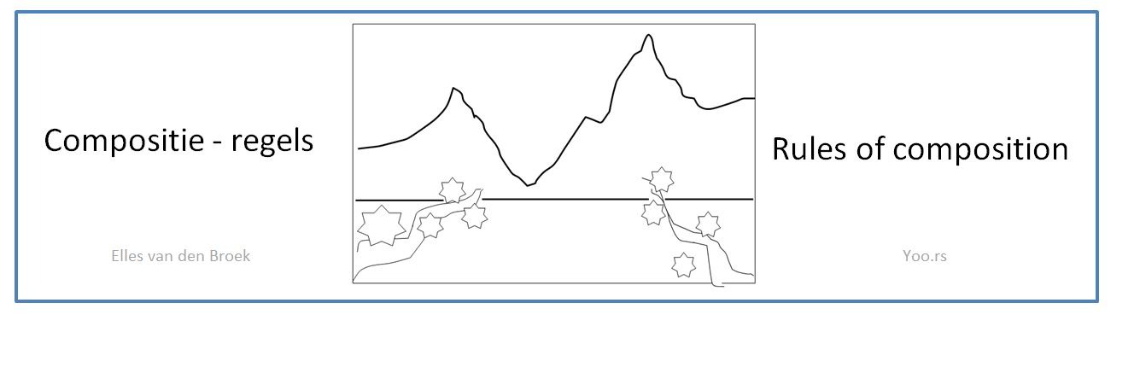
Today we look at a few composition - rules.

- Some cameras and phones have the option of flat distribution ( helplines to) put in picture. That makes the ' third party rule 'insightful as in the first drawing. If you put your subject in one of the lines or intersections, the look will be guided there. The advantage of the lines is that it's easier to straighten the horizon.
- If you put moving images in the picture, or if your subject has a clear ' viewing direction 'has, then choose to have your subject at 1/3, and then leave blank in the viewing direction. The running person in the example would otherwise walk 'out of the picture'.
- With many photos, and especially landscape photos, you get a very strong depth effect if you have something on the foreground stations. A branch, a stone, or a wall frame, for example. In this example, the lines also provide a nice leading line to the center of the photo. Because you focus at a long distance, that foreground won't be sharp, but that enhances the effect of depth.
- You don't have to have your subject full picture in the picture to give attention. The so called ' sightlines in the bottom example, the look of your subject. In cities, you can look for those leading lines, bridges edges, or a hiking trail or pavement, for example.
Loading full article...


then €5.99/month after 14 days
Start your 14-day free trial now to publish your sponsored content. Cancel anytime.