


DIY Cherry Candles: Create a Sweet and Cozy Home Aroma

Transform your home into a warm and inviting space with the irresistible scent of cherry-scented candles. Making your own candles is a rewarding and creative project that not only saves money but also lets you customize the fragrance and design to suit your style. Follow this step-by-step guide to craft your very own cherry candles and fill your home with fruity sweetness.
Why Make Your Own Cherry Candles?
DIY candle making is a fun and fulfilling hobby. Cherry-scented candles, in particular, offer a sweet, nostalgic aroma that enhances relaxation and brings a vibrant yet cozy ambiance to any room. Plus, homemade candles make excellent personalized gifts for friends and family!
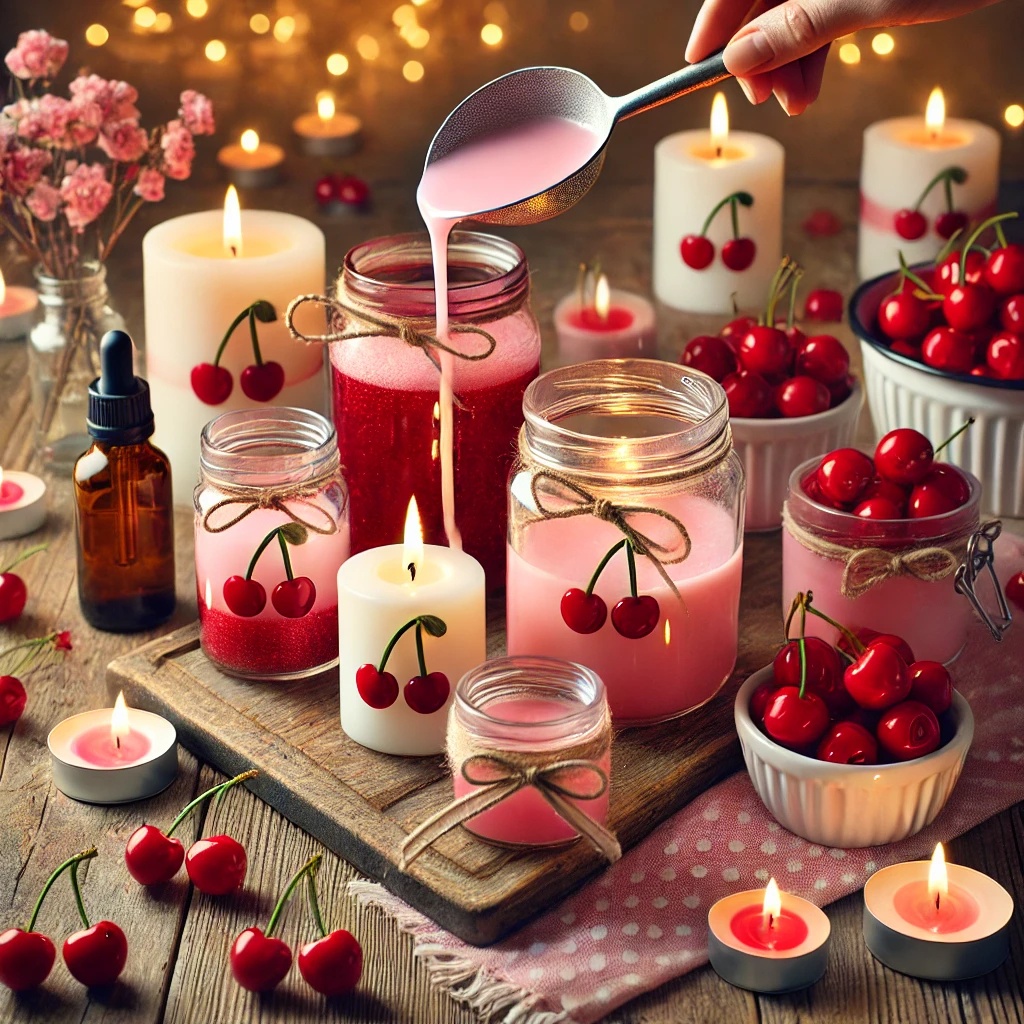
Materials You’ll Need
To get started, gather the following supplies:
- Wax: Soy wax or beeswax is ideal for clean and even burning.
- Cherry Fragrance Oil: Choose a high-quality oil for a strong and lasting scent.
- Candle Wicks: Ensure the wick size matches your container for optimal burning.
- Candle Jars or Molds: Use heat-resistant jars or decorative molds for your candles.
- Candle Dye (optional): Red or pink dye enhances the cherry theme.
- Double Boiler or Microwave-Safe Container: For melting the wax safely.
- Stirring Stick and Thermometer: To mix the ingredients evenly and monitor the temperature.
Step-by-Step Guide to Making Cherry Candles
1. Prepare Your Workspace
Clear a heat-resistant surface and gather all your materials. Place newspaper or parchment paper underneath for easy cleanup.


then €5.99/month after 14 days
Start your 14-day free trial now to publish your sponsored content. Cancel anytime.