


How is garlic grown?
Garlic is gaining popularity in both kitchens and gardens as more and more people in the United States discover how simple it is to grow this delicious bulb. Garlic harvests can be abundant with little effort from the grower — even beginners can produce these nutritious homegrown treats. It takes only a few simple steps to start enjoying your homegrown garlic and bountiful harvest.
Timing Your Planting
Growing garlic in the fall or early spring is recommended. Garlic, on the other hand, like tulips and other spring-blooming bulbs, requires cool weather to develop correctly. Garlic heads do not divide into cloves if they are not chilled for some time, and you end up with onion-like bulbs instead. In the spring, plant garlic alongside your first vegetable seeds to ensure that the garlic gets the chilling it needs to germinate successfully.
In autumn, many gardeners prefer to plant garlic simultaneously as they plant their spring-flowering bulbs. This allows the garlic to grow for an extended period, resulting in more extensive and more flavorful summer harvests — and nature makes proper chilling simple. Plant fall garlic about two weeks before or after the first frost date in your area, depending on the season. If you're not sure when that typically occurs, your local county extension agent can assist.
Preparing Planting Beds
Ideally, garlic grows best in full, direct sunlight and loose, fertile, and well-drained soil. Solid plant nutrition is essential for producing abundant harvests. Create a generous 3- to 4-inch layer of organic matter in your garden beds, such as compost and earthworm castings, and use a complete fertiliser explicitly designed for vegetables to make your garden beds look even better. Using a balanced fertiliser designed for vegetables, such as Pennington UltraGreen All Purpose Plant Food, work this layer into the soil and the soil surface. 10-10-10.
Before you start planting, it's a good idea to conduct a soil test. In addition, your extension agent can assist you with this. When the pH of the soil is in the range of 6.0 to 7.0.1, garlic is highly efficient at utilising available nutrients. Soil testing will tell you precisely what you need to do to make your garden soil more conducive to garlic growth.
Planting Your Garlic
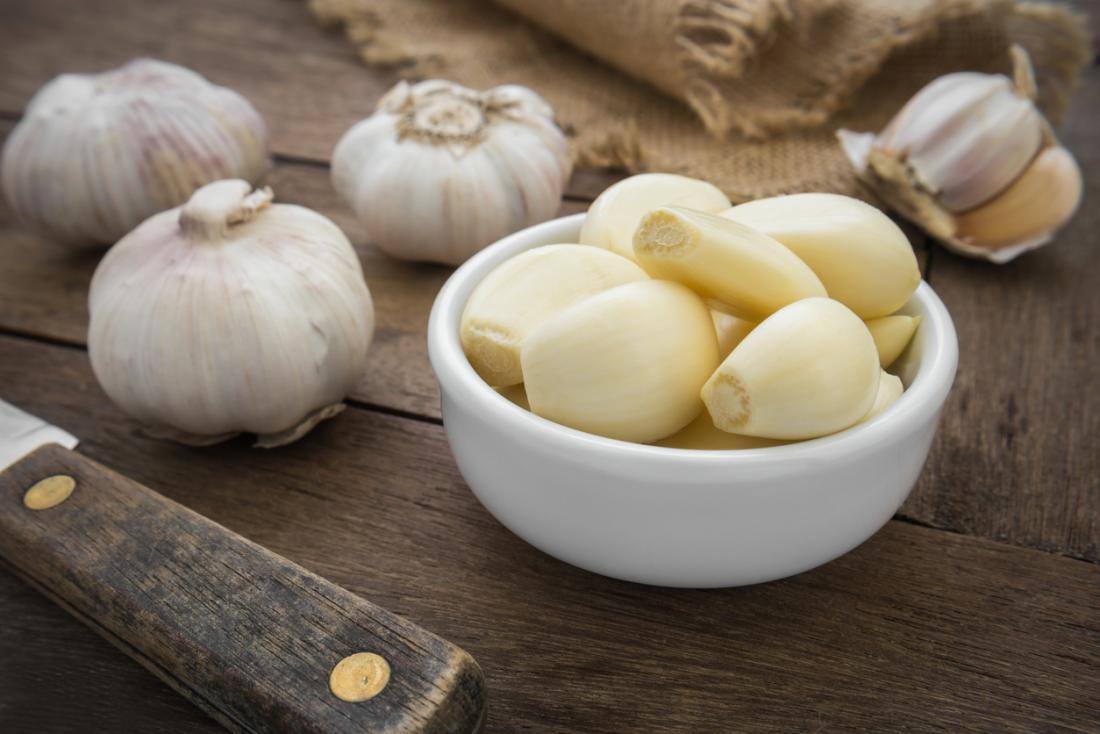
Compared to vegetables cultivated from seeds or plants, garlic is grown from single cloves — the same cloves used in cooking. Each clove develops into a full head of hair. Prepare the cloves by hand right before planting time, and enlist the assistance of friends. An excellent reason to throw a garden party with a garlic-themed menu!
Remove the papery outer layer of the garlic head to prepare the cloves. Then, with care and gentleness, separate the cloves from one another. Individual cloves should retain their papery coverings and should not have their flat bottom plates damaged, as this is where the roots will develop. Don't be concerned if a few of them are damaged; simply set them aside to be used in future meals.
Garlic cloves should be planted 1 to 2 inches deep in warm climates and 3 to 4 inches deep in colder climates. Place the flat rooting plate into the soil so that the pointy end of the clove sticks up above the soil's surface—mulch fall plantings with a 4- to 6-inch layer of weed-free mulch to keep weeds at bay. Grass clippings, leaves, or straw are all suitable materials. As a result, garlic cools gradually in the fall and warms slowly in the spring, which helps to prevent large fluctuations in soil temperatures.
Garlic Plant Care and Maintenance
Early spring songbirds can be seen peeping through the mulch on fall-planted garlic in the early spring. Pulling the mulch away from the growing leaves should be done gently. Once they have grown to about 6 inches in height, cover them with a layer of compost or earthworm castings and feed them with the same fertiliser you used when you first planted them. For spring plantings, wait approximately one month after the planting date to do this. Garlic should be weeded regularly because it does not compete well with garden weeds.
Water your garlic so that it receives approximately 1 inch of water per week from rainfall and your irrigation system together. Hardneck scapes should be harvested in the early summer when they are curly and soft. Scapes are delicious in stir-fries or sautéed dishes, and removing them encourages bulbs to grow in size as well.
As your garlic matures and its leaves begin to turn yellow, you should stop watering thoroughly to harden the plant's bulbs. Garlic is rarely bothered by insects, but those that do can cause serious problems. Using Sevin® Insect Killer Ready to Use, garlic pests such as leafminers and onion thrips are killed by direct contact with the product. Just make sure to allow at least seven days between treatment and harvesting your garlic.
Fungal diseases, on the other hand, can cause problems with garlic cultivation. The first signs of trouble are frequently small tan, white, or purple spots on the leaves of the garlic plant. Insecticides that contain the active ingredient chlorothalonil, such as those sold under the brand name Daconil®, are highly effective against garlic diseases such as botrytis leaf blight, downy mildew, and purple blotch.
#garlic
#stoepplantjes
#plants
Sharing = earning
1,000,000 views = € 1,000
100,000 views = € 100
10,000 views = € 10
1,000 views = € 1
500 views = € 0.50
250 views = € 0.25
100 views = € 0.10
50 views = € 0.05
25 views = € 0.025
10 views = € 0.01
And much more
- Comments (2)
- Recommended
- Milestones

khadijazulfqarali
3 years ago
very informatic👍

Leo 1
3 years ago
Garlic grows in the wild in our garden in France. Usually it rises under the tall beech trees. The tubers are usually much smaller than cultured ones.
Here are your recommended items...
Here are your milestones...

