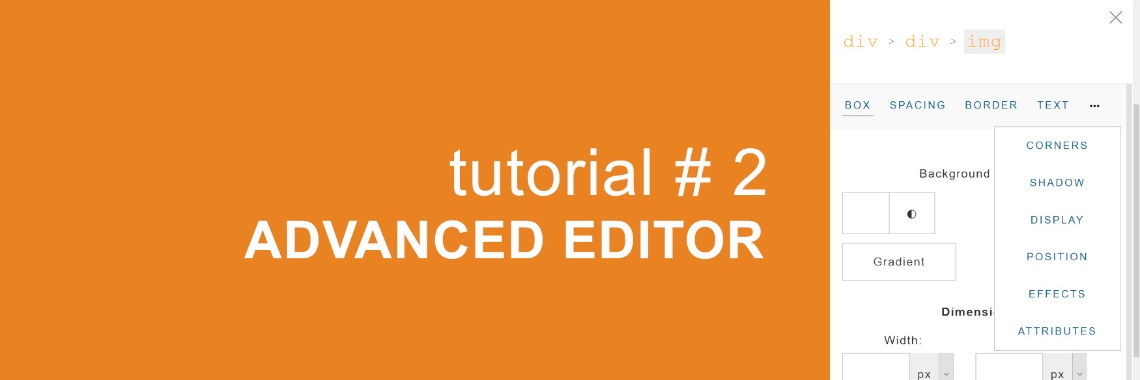


Yoors Advanced Editor tutorial 2: reducing, reshaping and centring images

In this tutorial you will learn how to: (1) reduce and reshape images directly on the Advanced Editor; (2) centre small/medium-sized and vertical images. Screenshots and written explanations will guide you step by step. If you have any questions about how anything works, leave me a comment below and I will do my best to explain it.
Before we dive in
How to use this tutorial
This is part 2 in a series of tutorials that will teach you how to make the most out of the Yoors Advanced Editor and its many templates and features. You can read each part individually, of course, but if you wish you can also take a look at part 1.
Each part will focus on two features of the Editor, divided into dedicated sections for easier navigation. Sections contain screenshots and and explanations in text. On the screenshots, the relevant portions of the screen will be highlighted in yellow and red, so you know what the text is referring to. The indications "left" and "right" are placed next to the text so you know which screenshot is being mentioned.
In this tutorial we will be making use of the templates Yoors provides with its Advanced Editor. To access the Templates menu, simply click on the left-pointing arrow that is visible on the right-hand side of your screen. At the top of that menu, there will be a drop-down box from which you can access different sections (Basic, Add Content, etc). Once you introduce a template in your post, which you do by dragging and dropping it into the posting area, you can access the toolbar and different floating menus by clicking on the element you wish to edit. On the toolbar for each template, you should find a cog icon (), which you can click on to activate the Settings menu on the right-hand side of the screen.


then €5.99/month after 14 days
Start your 14-day free trial now to publish your sponsored content. Cancel anytime.